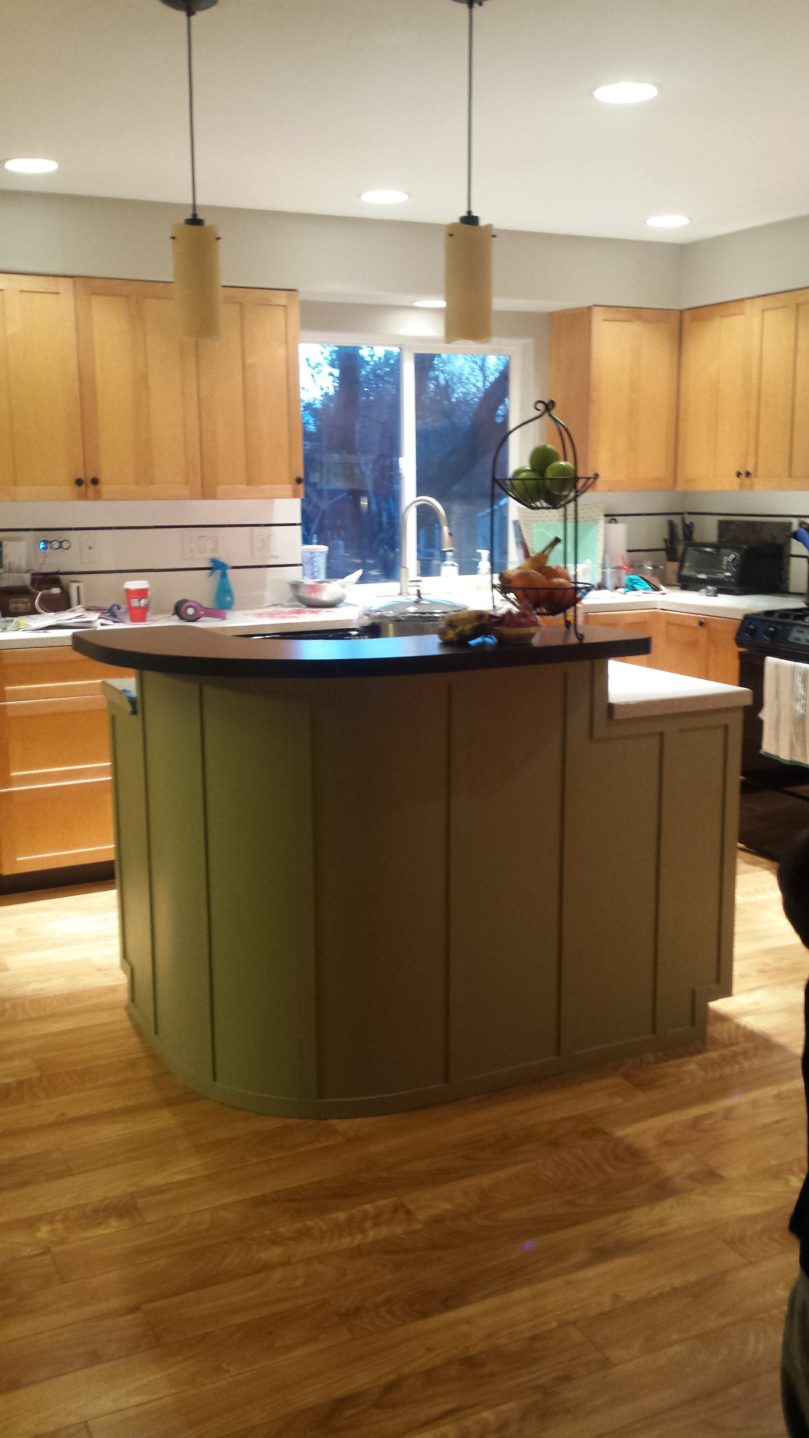
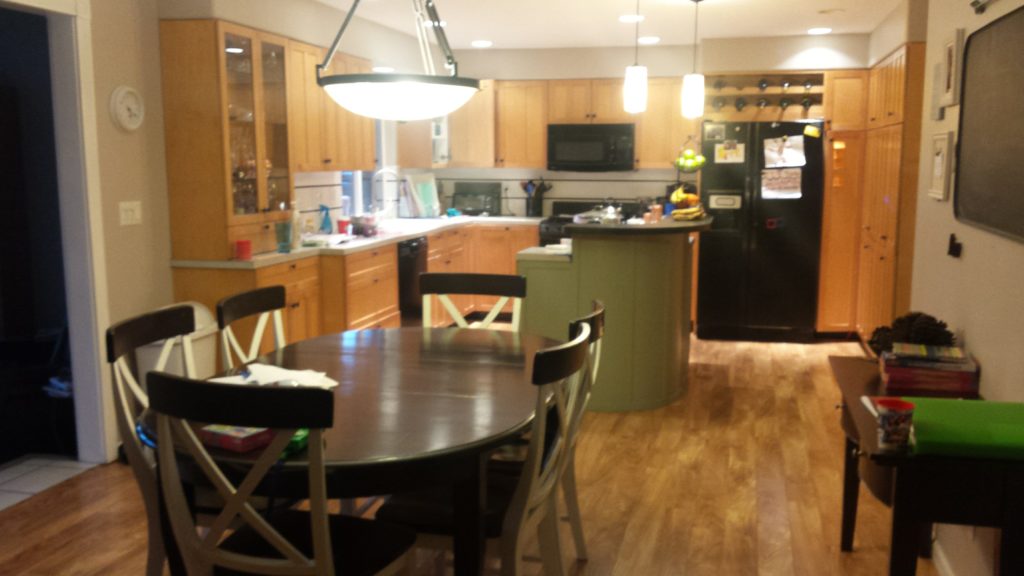
White cabinets are on trend currently and eventually we will be getting the cabinetry painted and most likely it will be white. But my eye really gravitates toward having two tones in a kitchen. Whether it is one tone on top cabinet and a different on the bottom or it’s the island that is the different tone. That being said I decided to go with a different color for the island.
Like most people I had grabbed approximately 200 paint sample cards on my first trip to the store. I considered yellow, navy blue, and my typical neutral of choice – gray. But I’ve used a lot of gray through out my house in fact almost every wall in my house is Behr’s Doeskin Gray. And my color of choice for two bathrooms, Emily’s room and the playroom as been a version of light aqua which happens to be my favorite currently as well.


So I’m expanding my color choices and looking at greens.
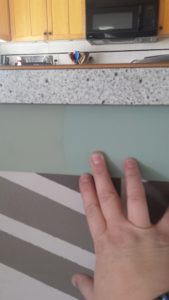
I know! I know! It’s such a difference from my usual color, I’m really stretching myself here. But I promise it’s different, specially since I chose the one on the left. It’s called Simply Sage by Behr.
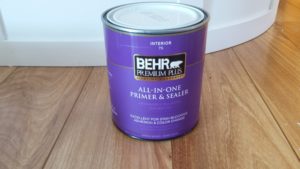
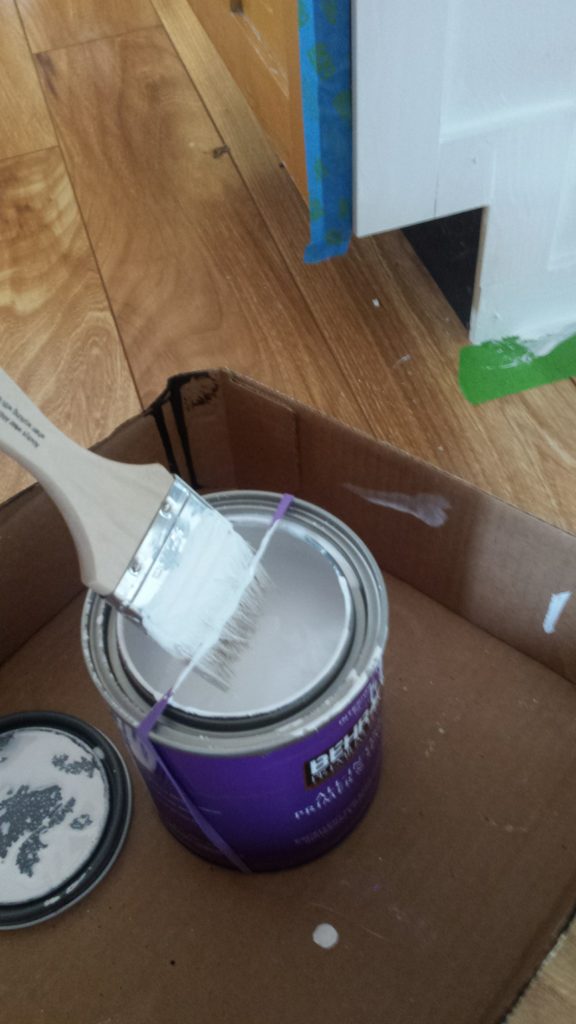
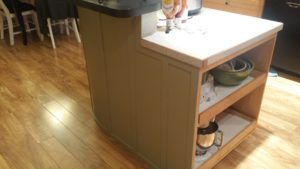
Since I used PolyWall for the backing and a PVC material for the trim, paint doesn’t adhere the same. The materials are said to be paintable but to make sure it sticks I picked up some primer and sealer for maximum adherence.
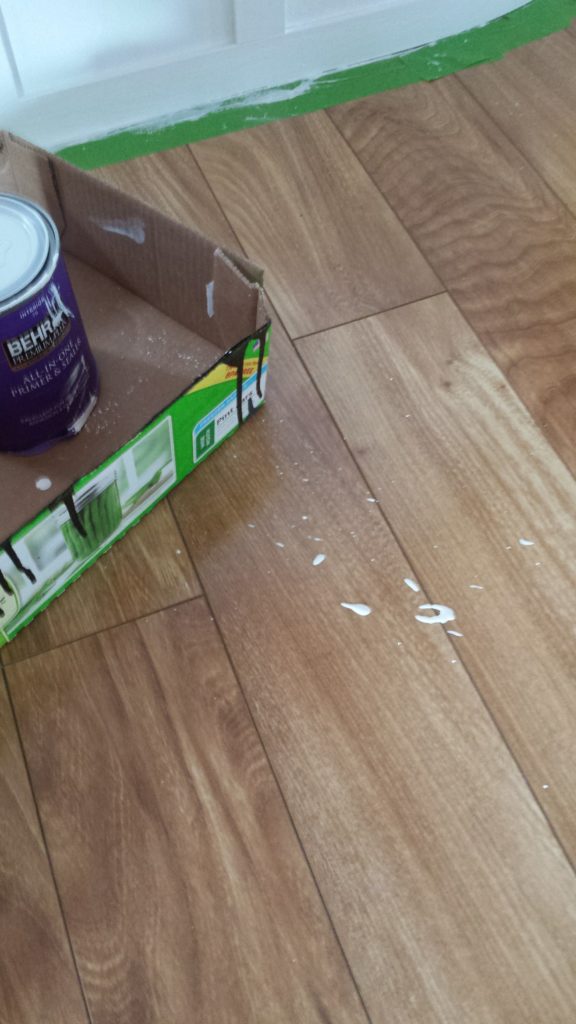
I saw a nifty trick on Pinterest to help keep the edge of the paint can clean. Put a rubber band around the can to wipe your brush on that not the edge. It worked well. It wasn’t life changing or anything but handy. However I warn you about the mess that you could make when you take the rubber band off. Whoops.
After applying a quick coat to the entire island I let it dry. I had to keep the kids from touching it so we went where it was warm and provided free entertainment. The library. Libraries are possibly one of my favorite places.
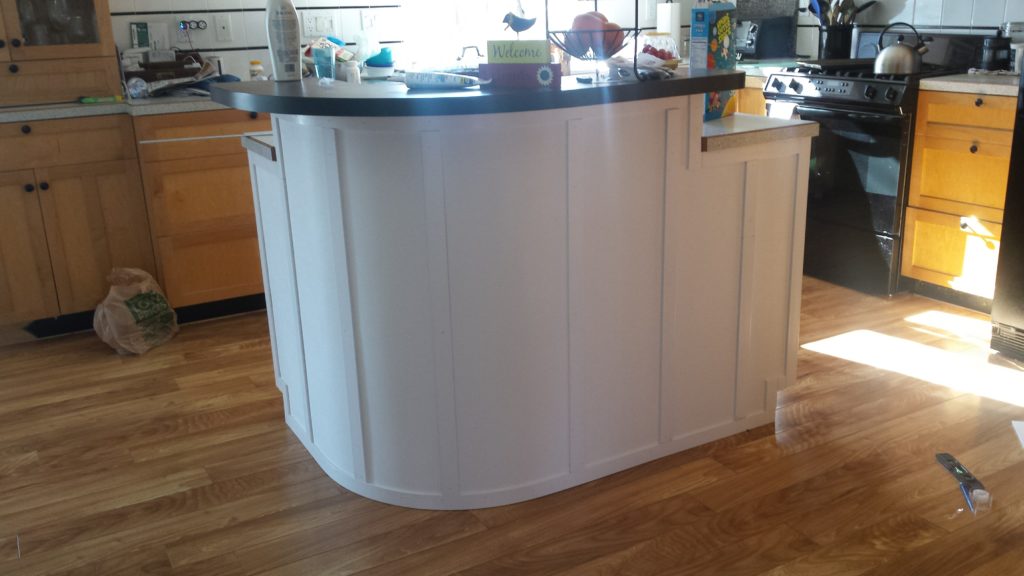
Two coats of Simply Sage later I had the finished island.
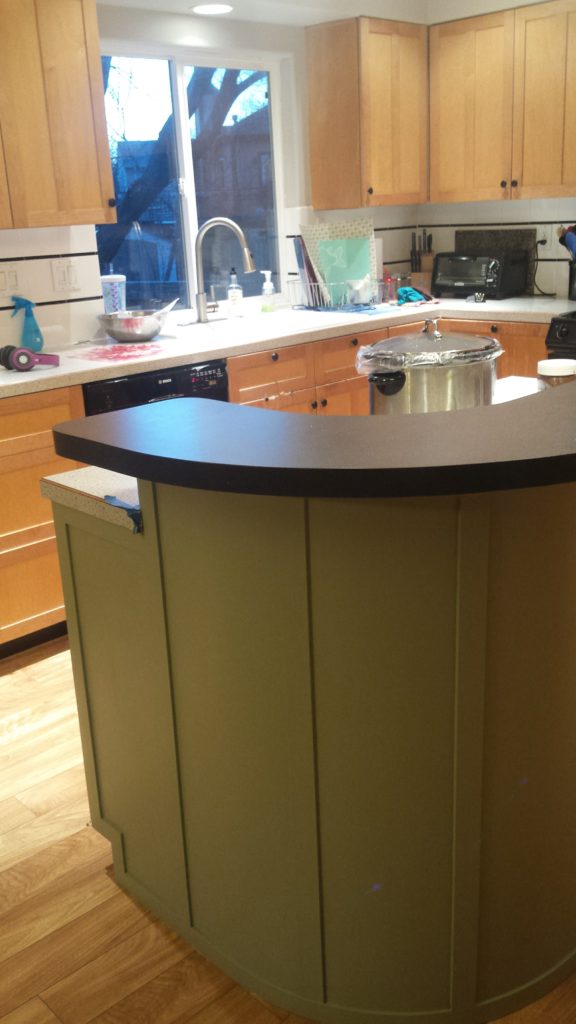

Or so I thought. I realized that making the back of the island match the other cabinets caused a little problem with the front of the island.
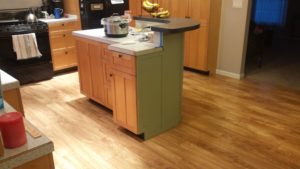
My son was the first to point it out. He said ” You need to finish this side now.”
Finishing the back of the island has made it necessary to finish the front. Soon I’ll be attempting painting the cabinets and drawers so that the island will look complete and seamless. I’m not going to lie, I’m looking forward to tackling that project.
As for my thoughts on the color and finish, it’s different then the multi-color pattern. I realized the multicolored pattern was creating the island to almost be a focal piece, sort of furniture art. The island is no longer furniture art, it isn’t as bold as it was. I’m not disappointed, it allows me to possibly put other focal points or pieces of art in the kitchen. I’ve got some ideas brewing and I might have already cut the wood.
I agree with Josh you need to paint the whole thing. Looks good.
Looks amazing!! Go Megan! I agree too about painting the whole thing, you have a smart kid on your hands 🙂
Nice, job, Megan! Come do mine next? hehe.