Wednesday night Tim came home when I was upstairs tucking the kids in. When I came down I asked him if he noticed anything different. He immediately pointed out the island but he said was trying to figure out if I did anything else. Nope, nothing else, at least yet.
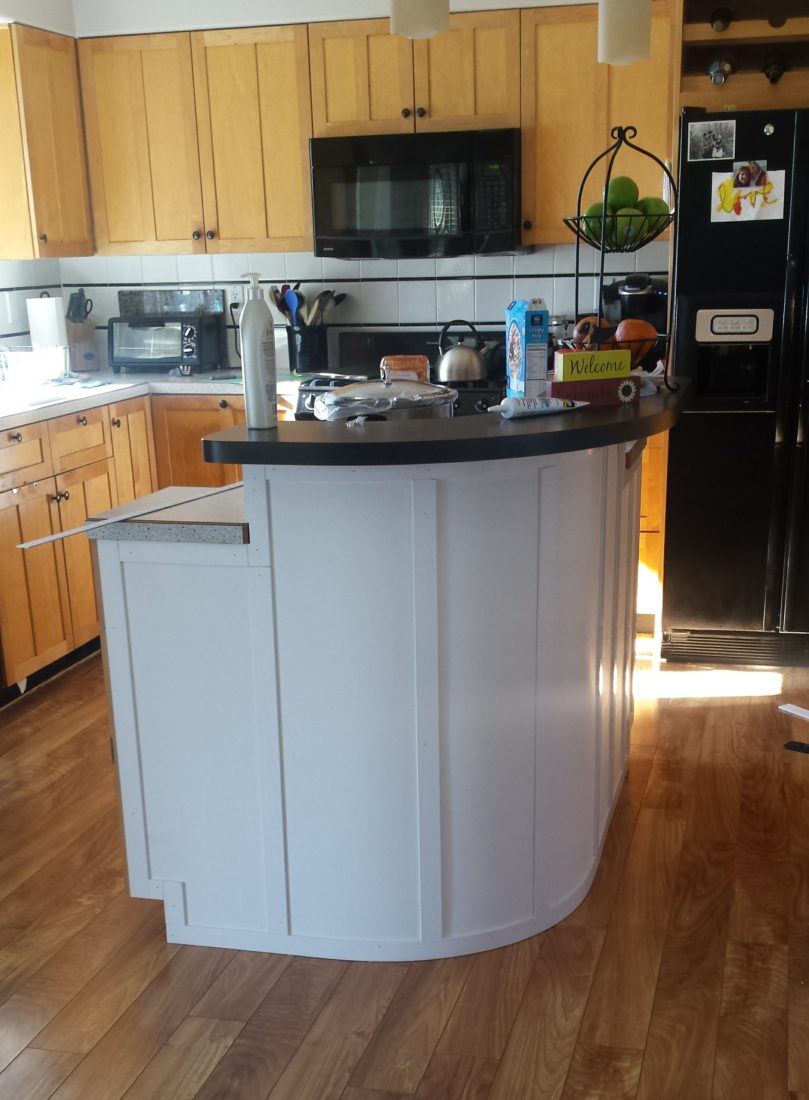
I had a blank canvas and the evening to figure out what was I going to do with the island next. I entertained using the trim to create a barn door-esk design. But due to the curve of the island I don’t think it would really work. I’ll probably end up with that look somewhere else. Looking at the cabinetry in our kitchen I thought the best thing to do was to take a cue from it. Straight lines, no diagonals, no fuss.
I went ahead and decided that the first piece of trim should line up with the edge of the counter, that gave me the width between each piece of trim. Then all it took is marking at the base where each piece went. I then used a very special tool to attach each piece temporarily- scotch tape. Stood back to evaluate. It looks like it belongs. Rather than just start nailing the pieces in I thought I needed to make sure things were level – gasp! What? I actually had the forethought to ensure proper placement rather then just eyeballing it. I must be taking on some characteristics of my engineer husband. They do say the longer your with someone there more you are like them.
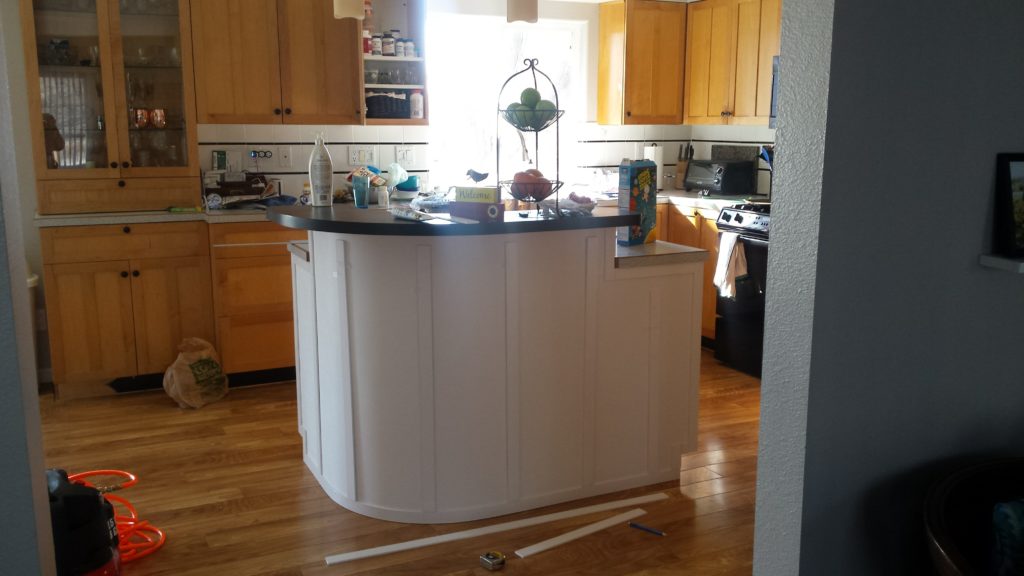
Cue nail gun! I had drawn a perpendicular line so that I could make sure the trim was lined up right. I had cut a piece for the top, under the bar, I nailed that in place too.
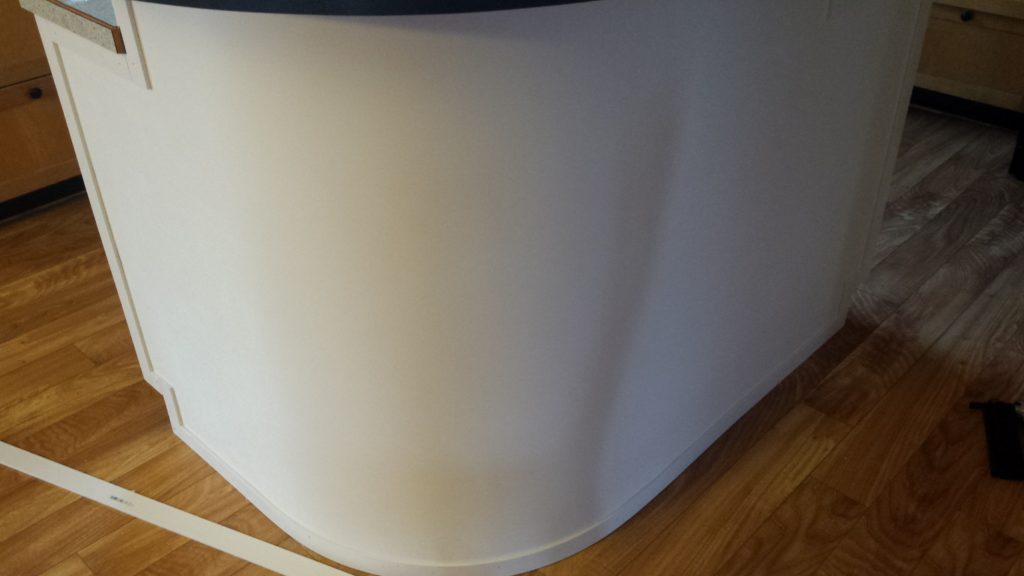
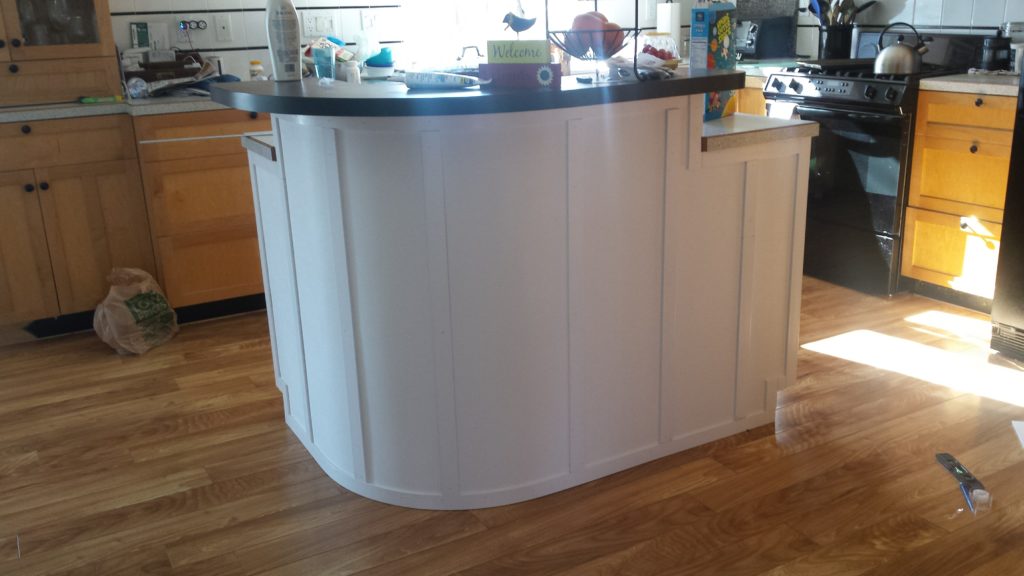 It definitely turned out better than I thought. Specially since this idea was just hatched yesterday morning.

Now I had a bunch of nail holes that need damage control. I picked up some inexpensive painters caulk.


Next up- paint!