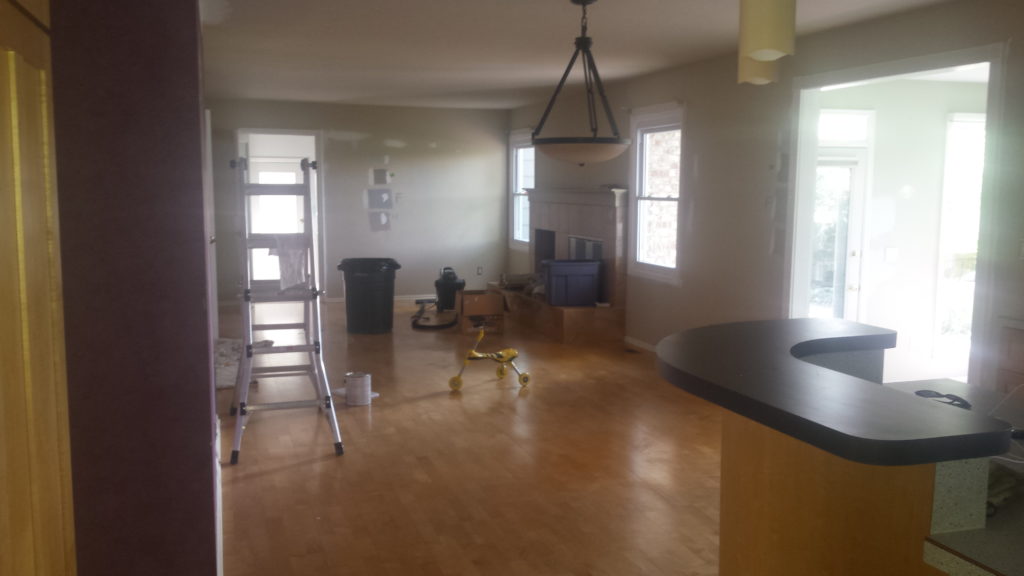
When we moved into the house we had to lay a new floor. To do that we moved the island out of the way, when the island was moved the wood laminate veneer chipped pretty bad. I wasn’t too upset about it, I was up for a new project. I guess a whole new house wasn’t project enough.
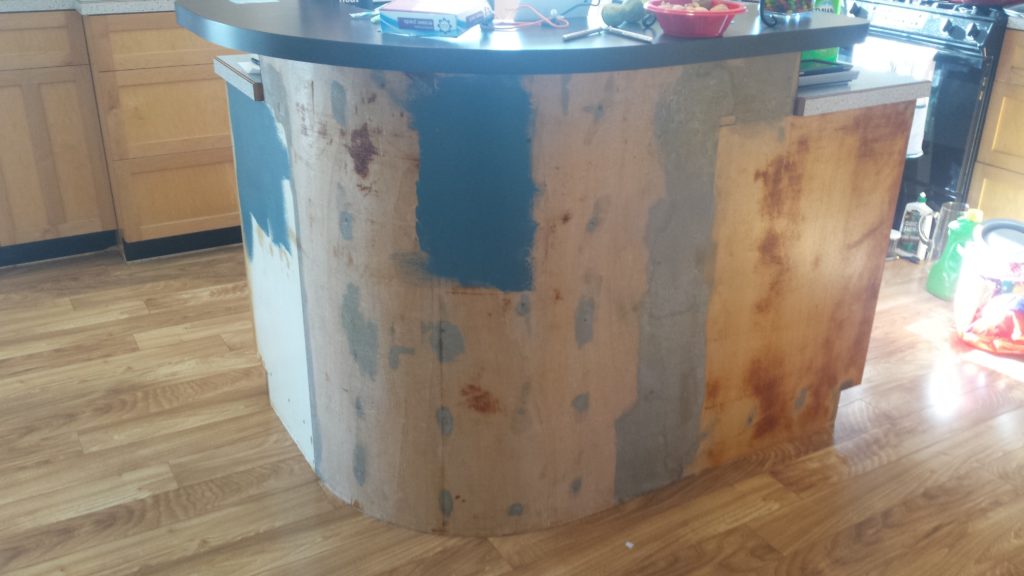
About a year ago I got tired of looking at the unfinished outside. So I took a few pots of test paint and painted a herringbone pattern. The pattern had a the rough finish but gave it a fresh look.
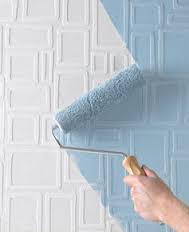
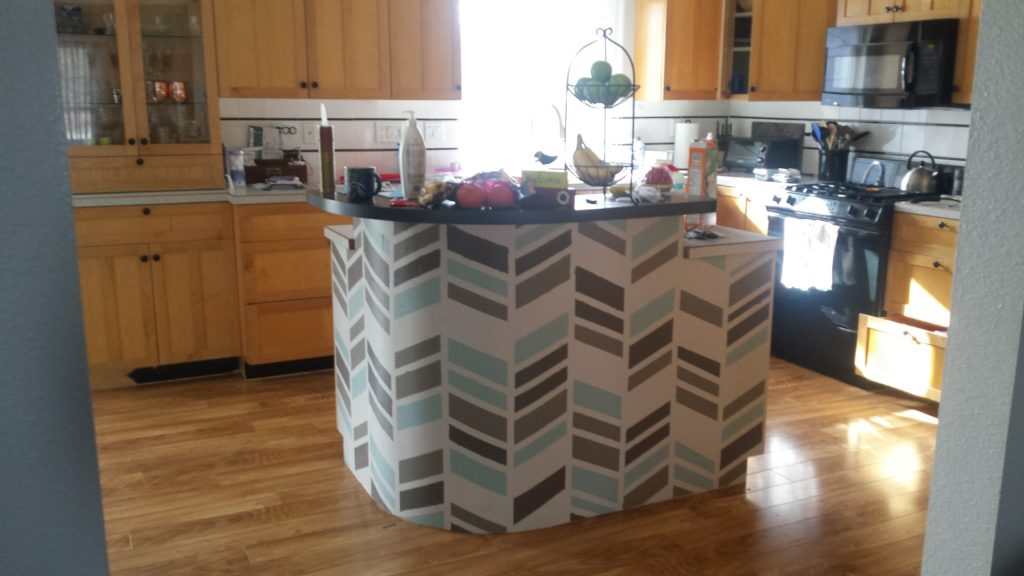
I’ve been throwing around a few ideas on how to really finish the island. Things from paintable textured wallpaper, stone mosaics (read expensive), to corrugated metal (not really my style). This morning I got a wild hair and decided it was time to change the island and it had to be today and at the same time not cost a lot specially since I didn’t take time to discuss my hair-brained scheme with my husband. So at that point I chose to go with the textured paintable wallpaper.
Home Depot has carried it in the past so I thought I wouldn’t have any problem. Well they carried it 6 months or more ago but not anymore. So anyone who knows me knows that once I set my mind on doing something I usually don’t stop. So instead of going home and possibly ordering it online, what do I do? I wander the store and talk to a few different employees about materials that flex. The first two people looked at me like I was crazy-cakes. Finally I found someone who spoke my language. It just happened he has small children at home too so it’s possible he knows something about affordable kid friendly finishes.
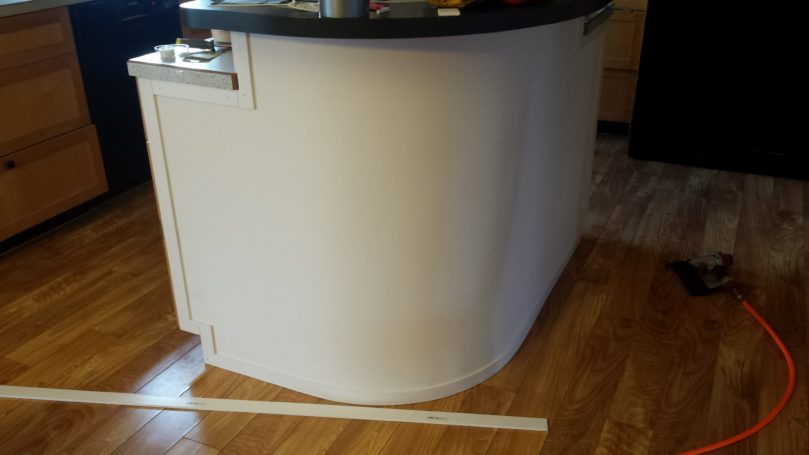
He led me to wall paneling. Things I didn’t even know existed were in this area. I found Plas-tex PolyWall Panel , super durable, flexible, paintable, easy to cut. Right up my ally. Plus they had flexible trim made from PVC. Since I was planning this on the fly I originally purchased the 1 inch trim but when I got home and was looking at my cabinets I realized the trim on the cabinet doors is 2 inch. So back to Home Depot I went to return the 1 inch and buy the 1.75 inch trim. They didn’t have 2 inch.
Then I made a detailed plan, I’ll say that again for the sake of those who know me – I sat down and created a plan. I am more of a cut-first-swear-later-and-buy-more type of project gal but since it’s January and we’re watching how we spend our pennies I didn’t want to spend another 22 dollars because I didn’t think this one through. My husband was astonished at this little tidbit of information when I told him what I did today.
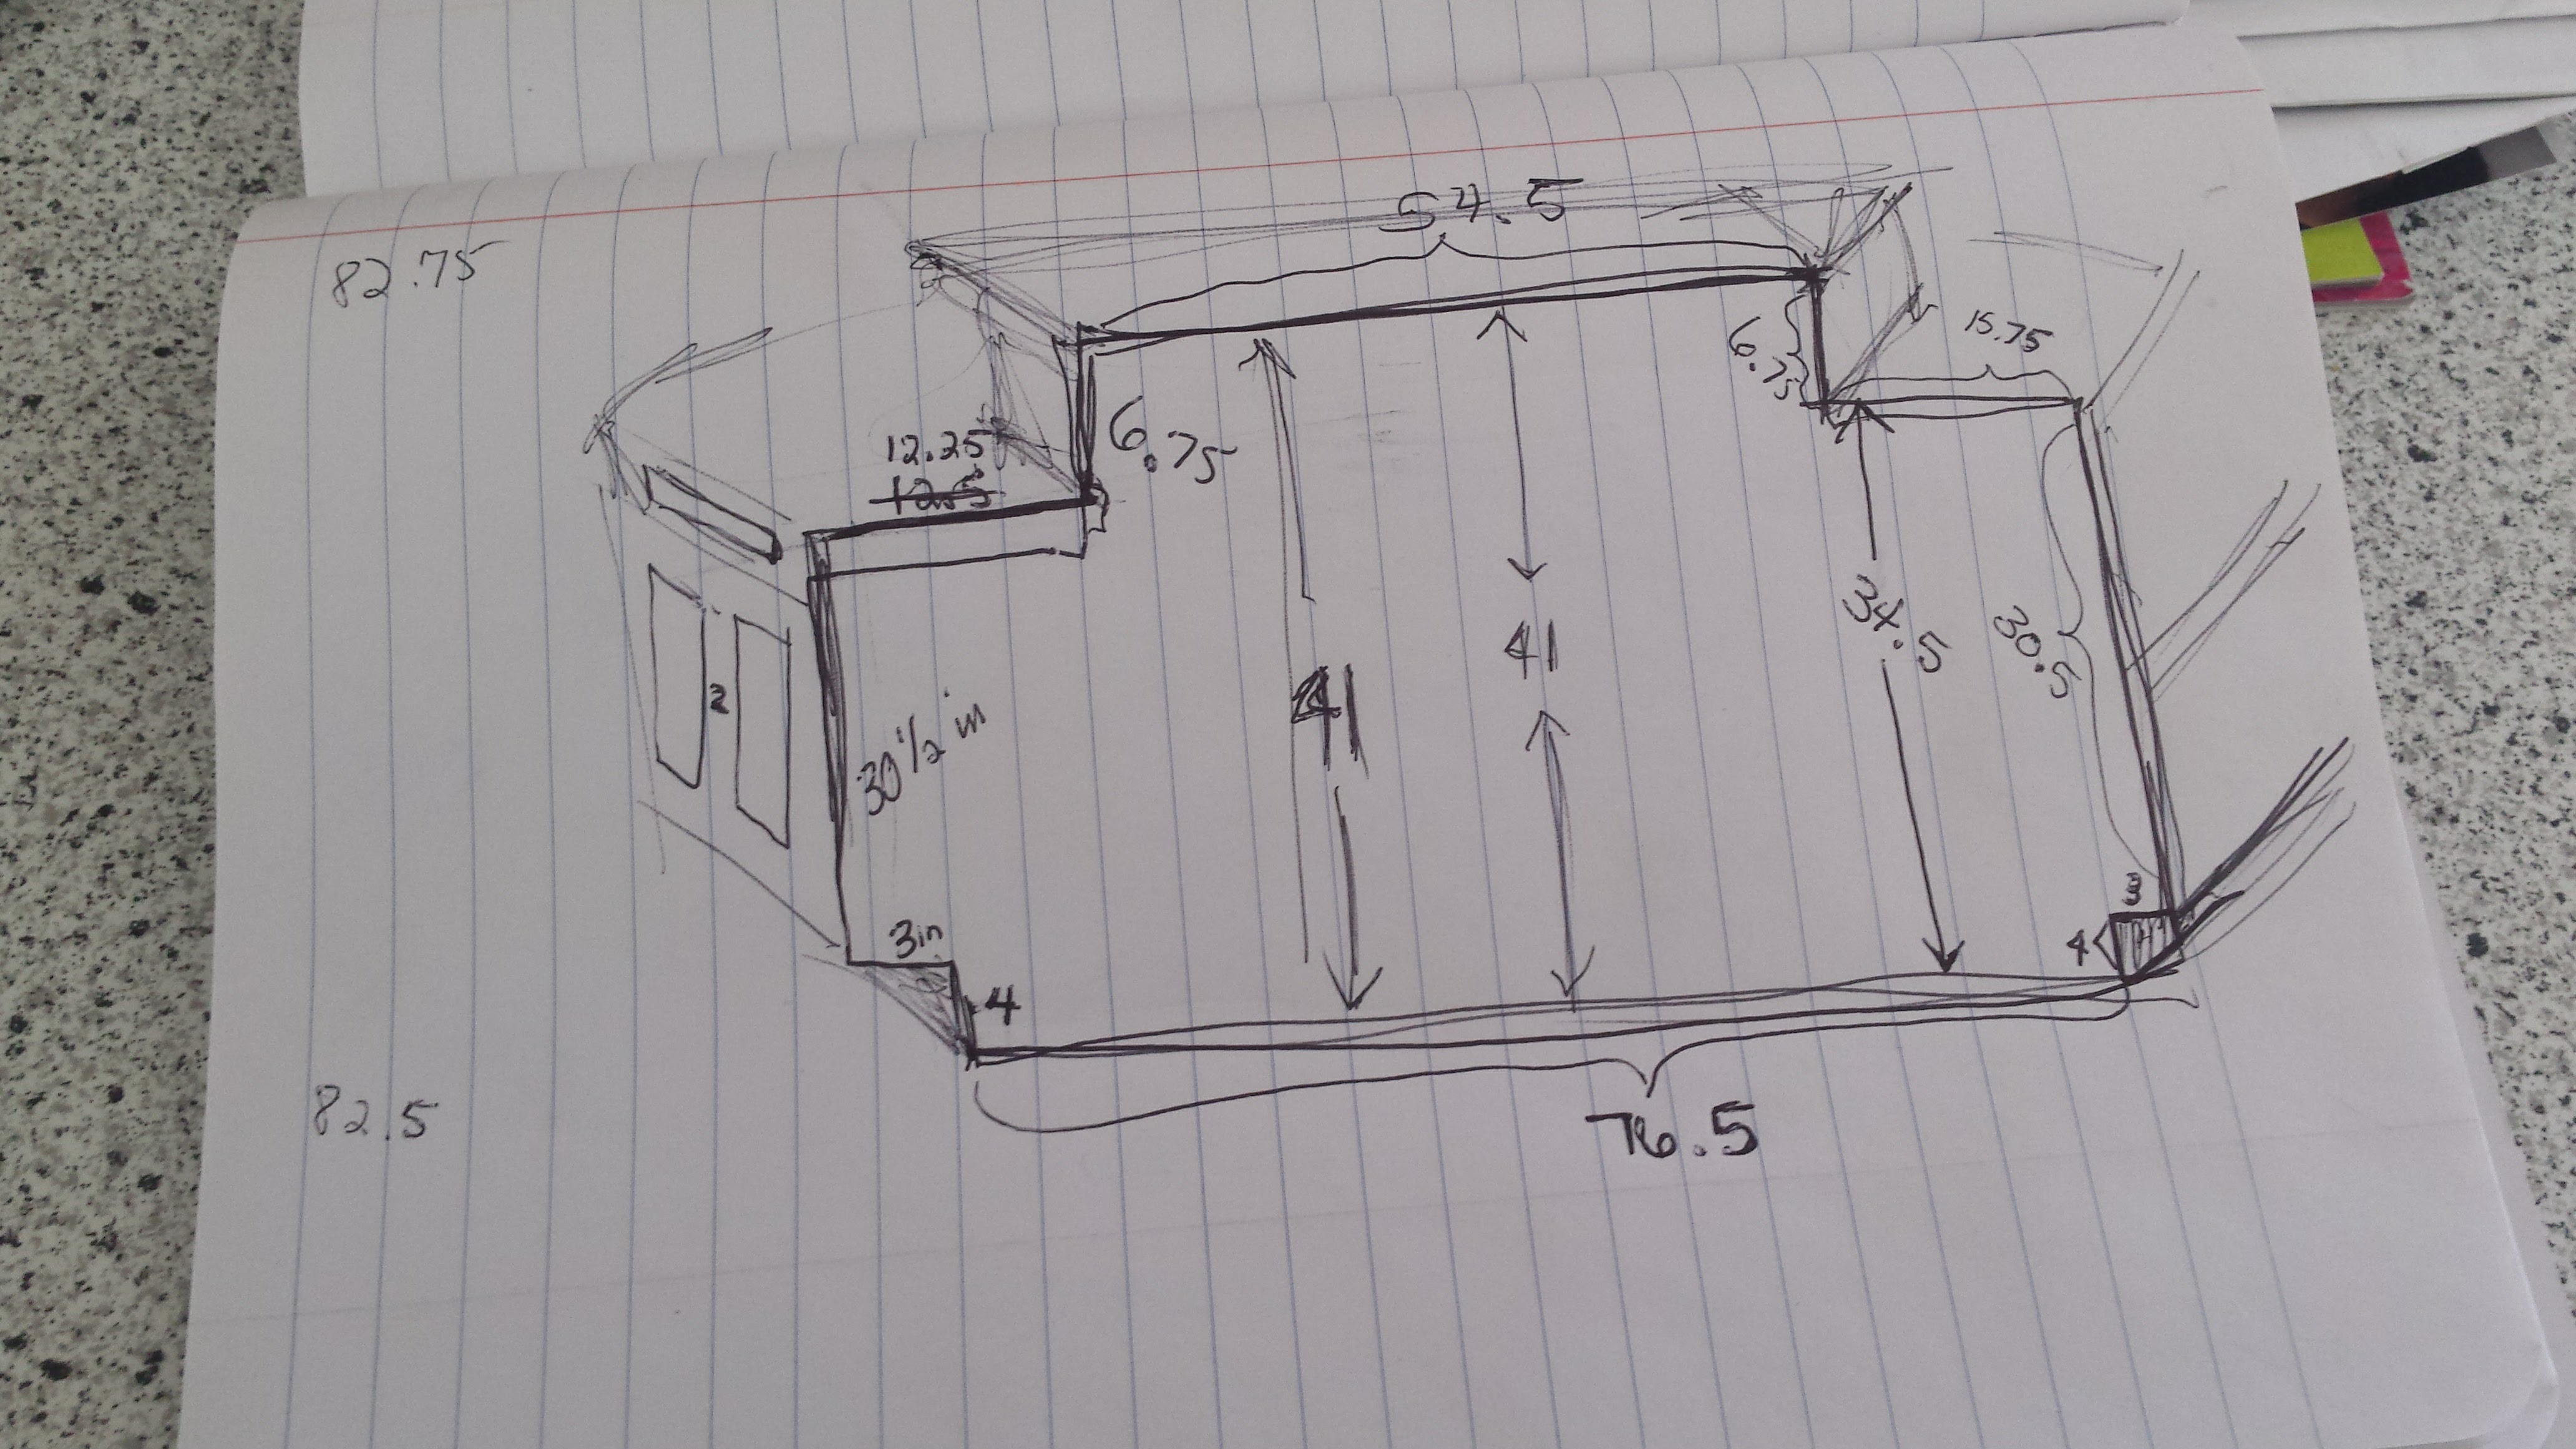
Finally I got to a place where I could start to mark up and then cut the panel! I drew my lines, checked my lines, changed my lines when they were wrong and then checked them again. And finally I took my utility knife and cut the panel. It was that easy, no saw, no difficult tool, just a little pressure with the knife and it sliced like… frozen butter?
By then it was time to pick up my littlest little from preschool and I needed to return the 1 inch trim and get the 2 inch plus some paint. She completely enjoyed her lunch from the hot dog vendor and I enjoyed the fact that she was content with the hot dog while I did my errand.
The big-little needed to be picked up by this time. We came home and I impatiently played MouseTrap and Gone Fishing with the kids. I had told them that we would play games after school before I concocted this island plan. With three rounds of MouseTrap and two rounds of Gone Fishing done I shooed them into the playroom to play together while I got to work. First I tried the panel on and duct taped it onto place.
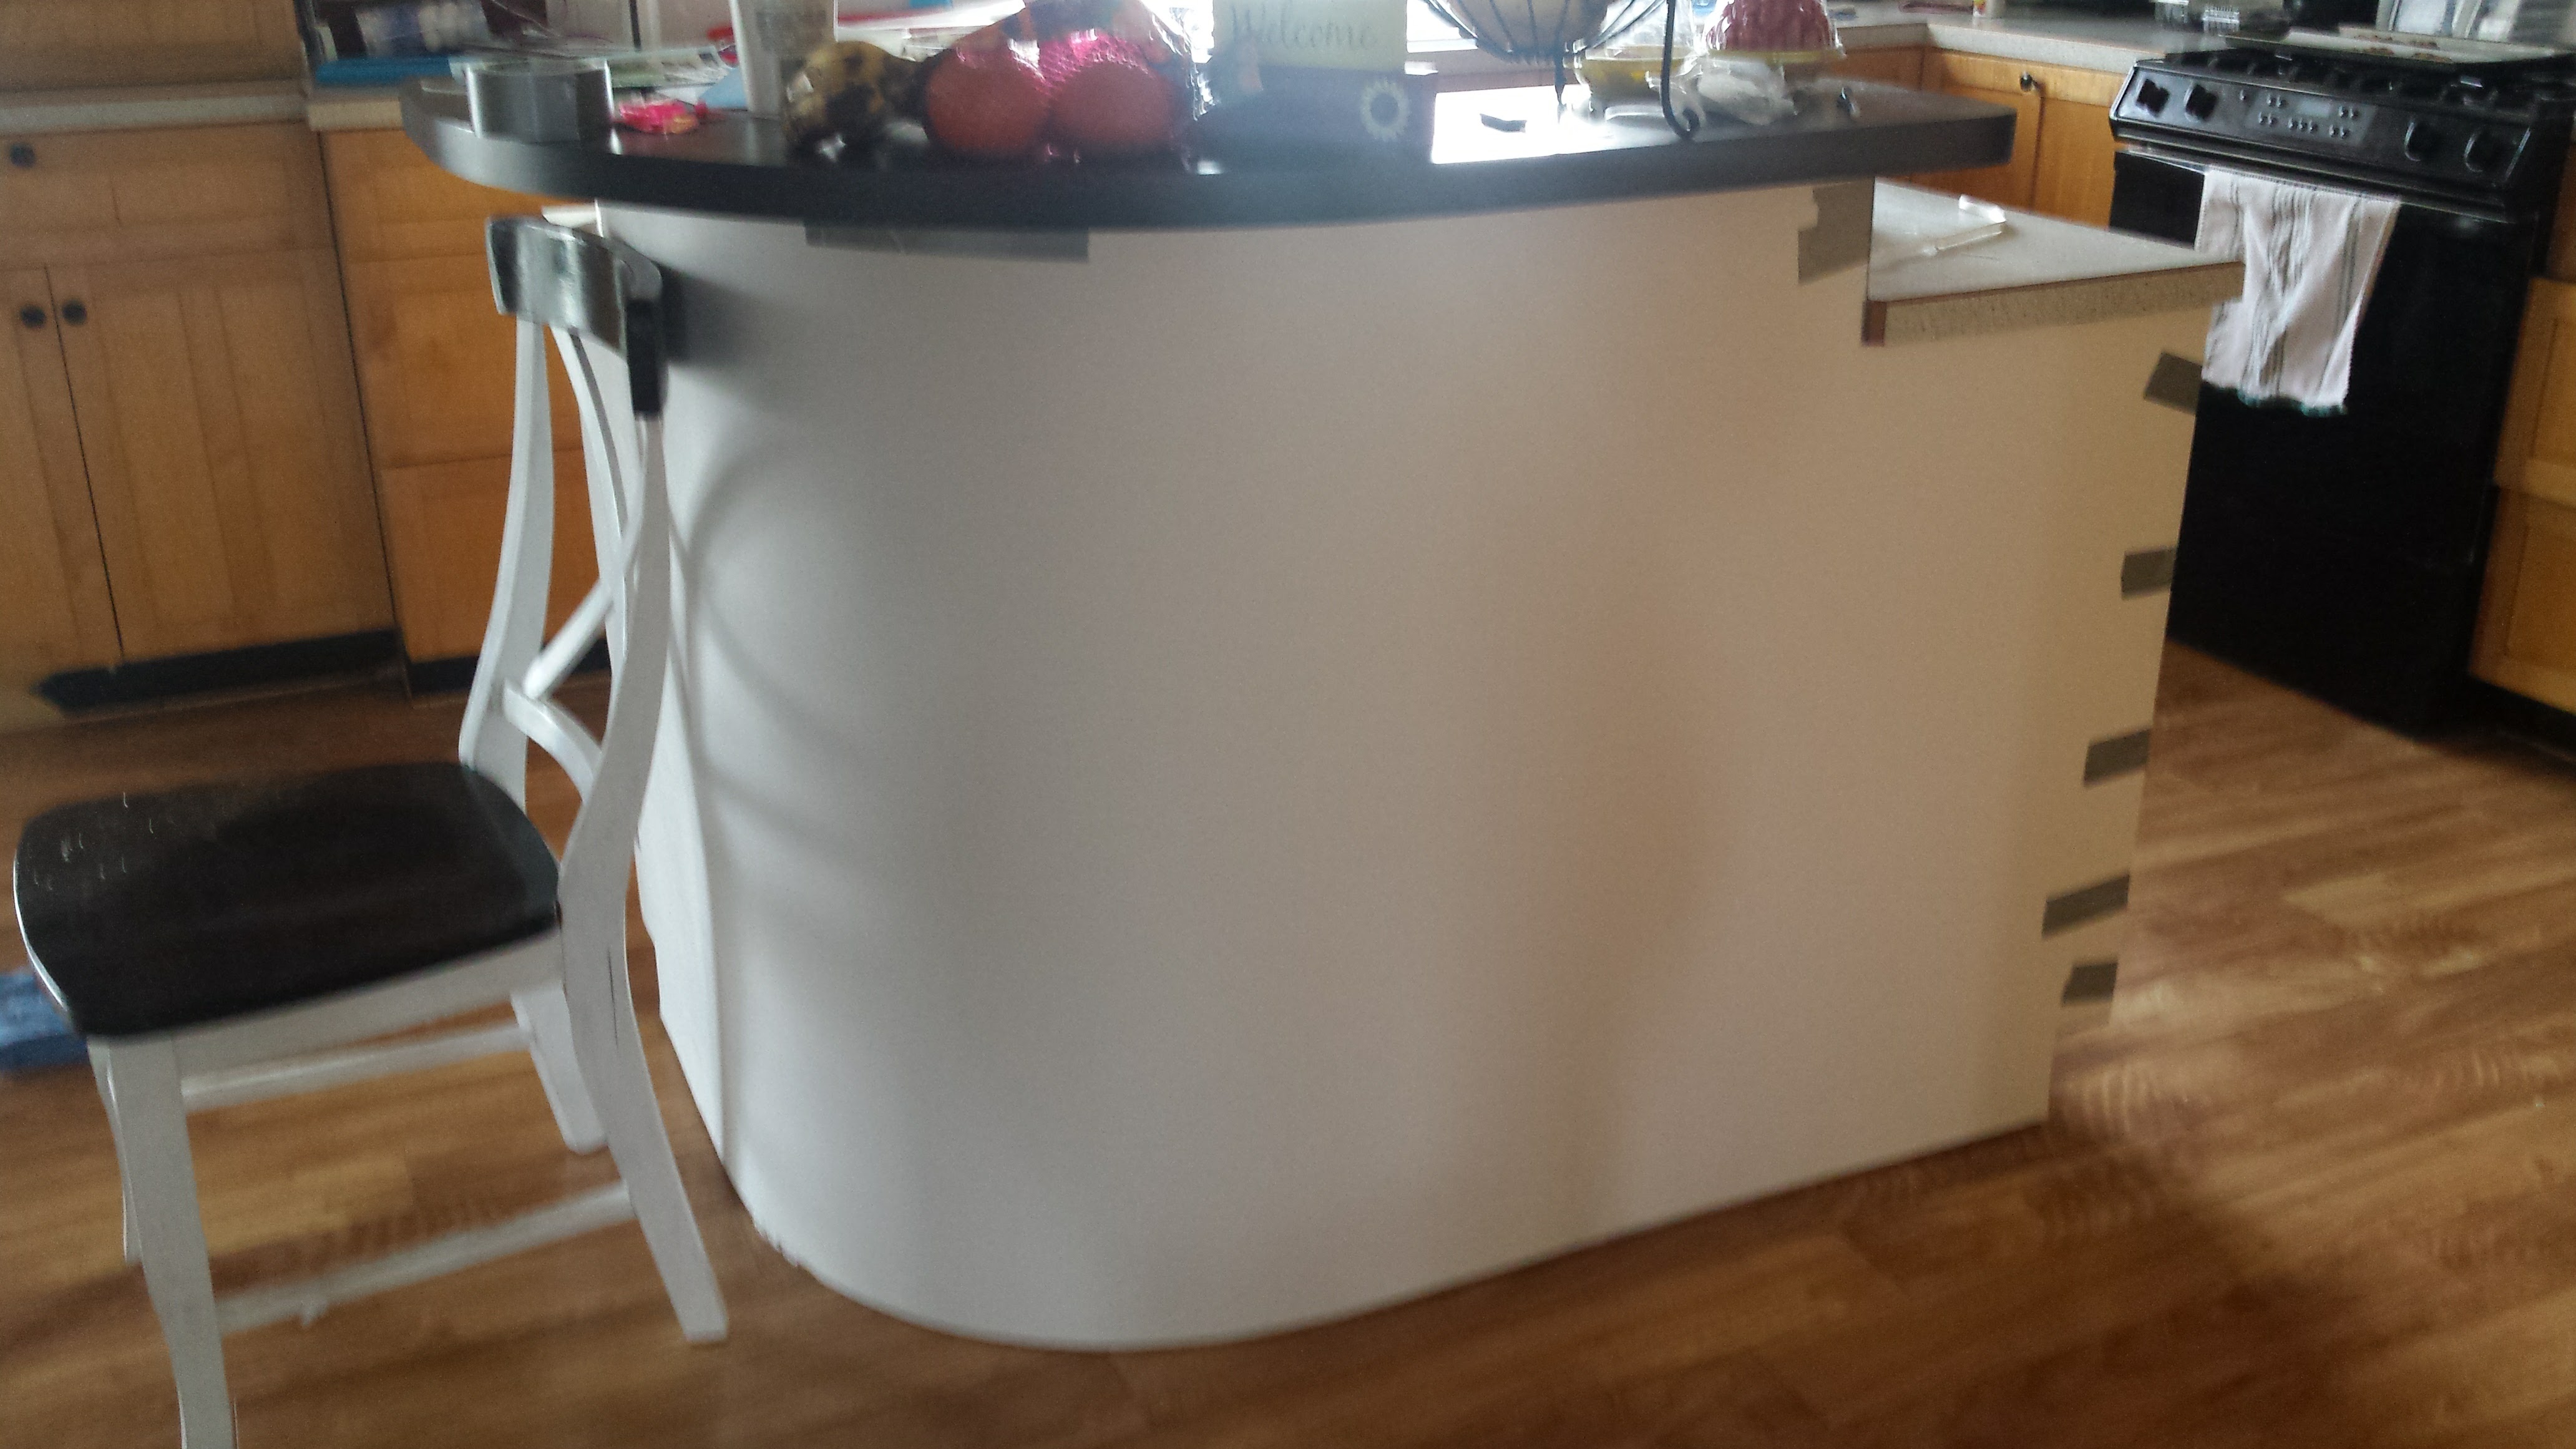
Next I used Liquid Nails made for paneling to glue the panel in place. So easy! I had purchased a PVC baseboard and tried it on, and hated it. So I tried the 2 inch trim and loved it. I had used up the Liquid Nails so I knew I’d need some actual nails. My husband has a propensity to purchase power tools like most men do and lucky for me he had purcha

sed a compressor and nail gun. And even luckier for me it was easy to figure out. (Hubby at this point is still at work clueless to what I was doing at home).
A few months ago He had shown me how to safely use the table saw, only because I had used it on my own and that made him nervous. So to ease his mind I let him walk me through the correct and safe way to use the saw, my way was almost identical.
For those who don’t know, when I am in project mode I might not always do things the safest or smartest way. But I try… I try.
I had to take a picture to prove to my husband I actually used the goggles.
I measured, cut and nailed the trim into place. And for being about half way done it looks pretty decent. Now I just have to be patient about finishing, finishing has never been my strong point. Watch for the next post for paint colors and additional trim.
