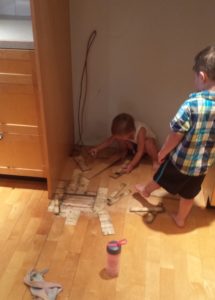
Paint is fast becoming my best friend. When we bought the house we noticed there was something missing in the kitchen. In fact there was cabinetry wrapped around a space that was intended for something, but that something wasn’t there anymore. A refrigerator. My kids liked playing in the space and with the wood that was peeling up from the floor.
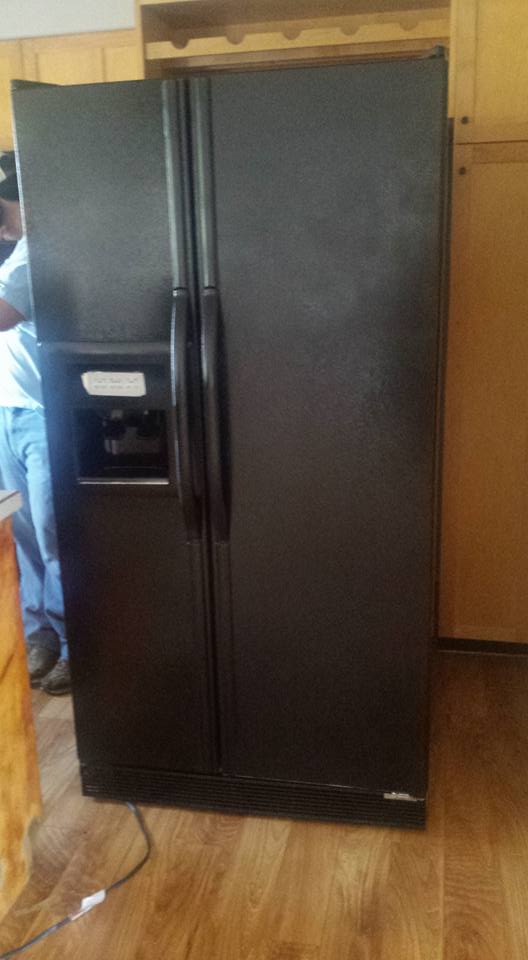
However there was an almond colored refrigerator in the garage. The rest of the appliances in the kitchen are black. We could have just dealt with mismatched appliances, or maybe invested in a new fridge. But we both noticed that the fridge in the garage was still nice, it worked. Why buy a new one just because the color is off? Specially when Rust-oleum appliance paint exists. I bought 4 cans, plastic drop clothes and some more painters tape. I also bought a box of TSP to clean the fridge.
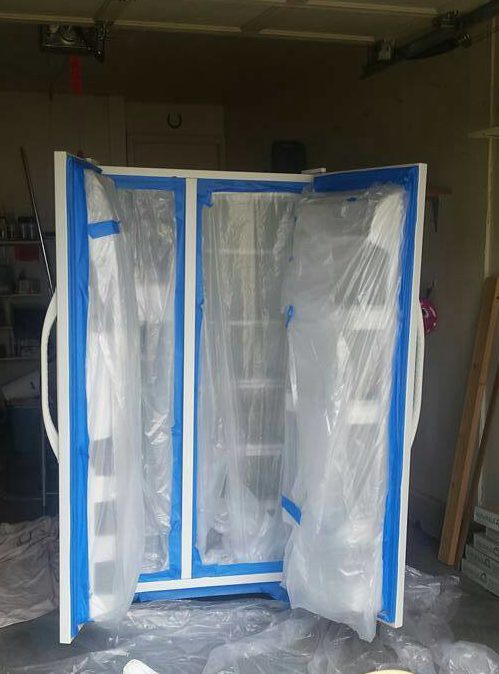
One of our generous friends had my kids for a few hours so I could complete this project. The can basically states that you have to do it all at one time, or can’t come back to touch it up for a full week. I wore a mask and eye protection after reading that this stuff doesn’t come off skin easily. The biggest mistake I made was not buying one of Rust-oleums spray accessory.
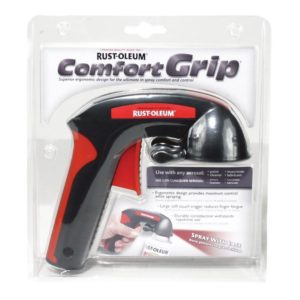
I hated pressing that little toggle, I used 3 and 1/2 cans of paint and by the end my pointer finger on my left hand (my dominant hand) was NUMB. And not only was it numb that day it was numb for at least one month, no joke! And I depend on tactile sensitivity on that hand for my job. If you’re considering spray painting a large thing like a fridge – buy the spray accessory!
It was dry enough to move the next day. We had to remove about 1/3 of an inch of the wood molding at the top of the space the fridge was to go in order to fit. The old owners must have never had this fridge in that space because their floor was a bit higher then the one we laid down, makes me wonder about the fridge that was there before.
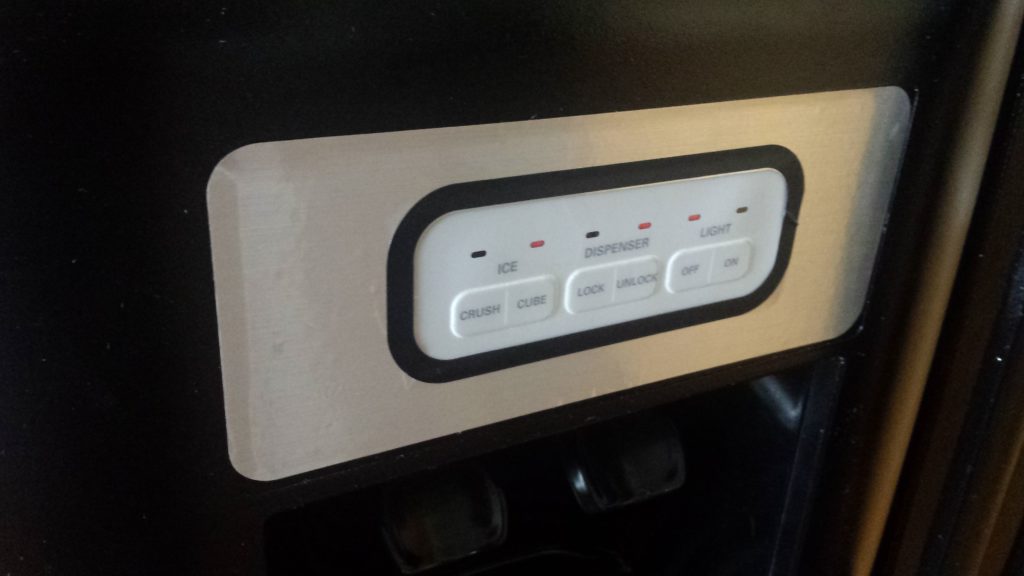
Not too bad, unless you look at the area above the water dispenser.
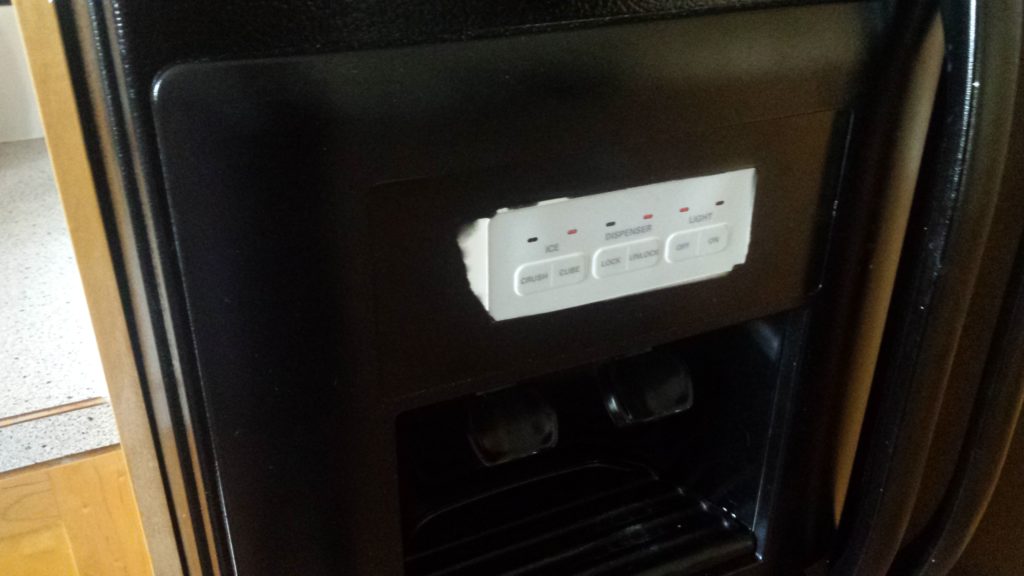
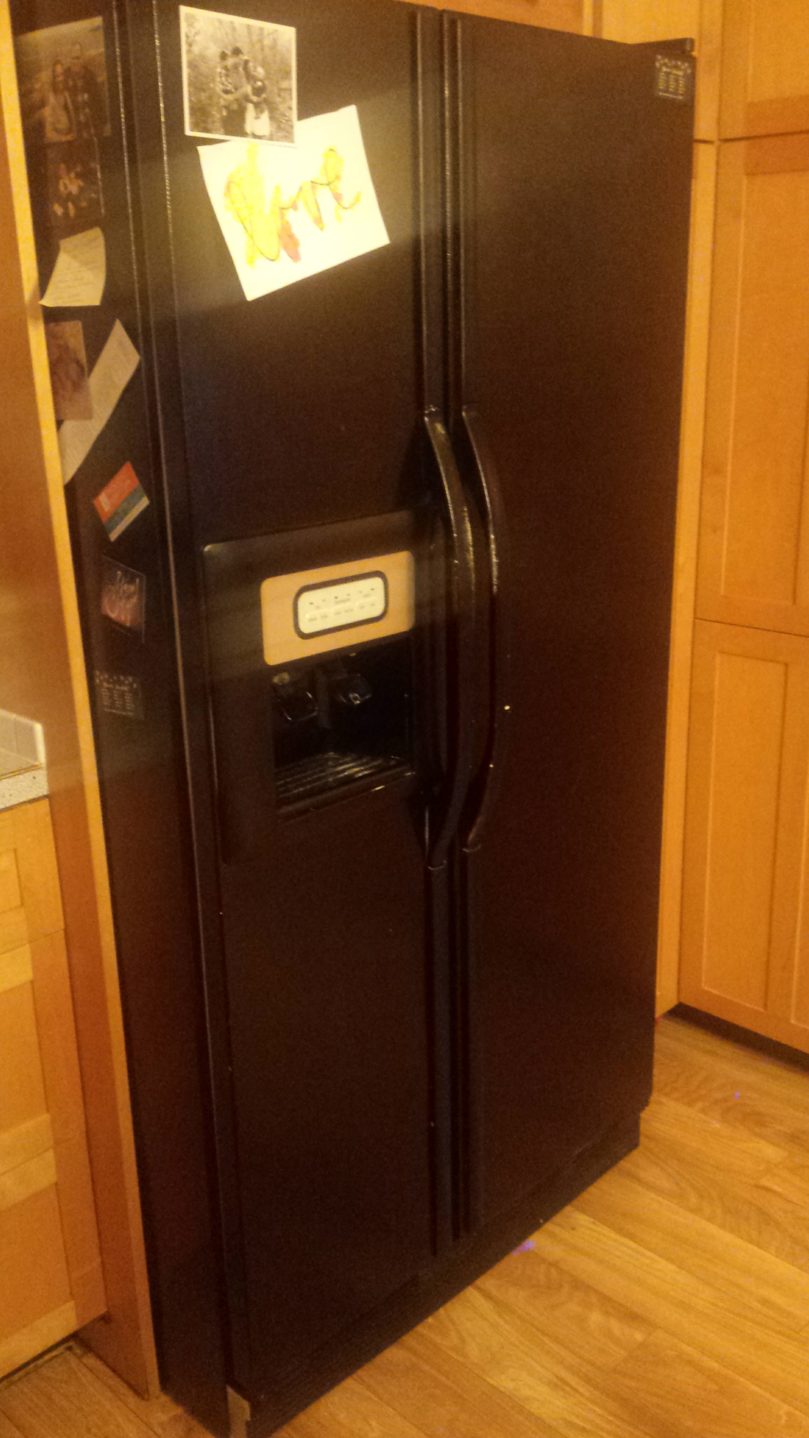
I didn’t tape the buttons off as well as I had hoped to. I had to figure out a way to fix this to look nice. In comes a material that I’d been curious about for a bit, stainless steel contact paper.
I only needed a little and it was a great coincidence that I mentioned the project to a friend and even mentioned what I planned to use. She already had some and offered a little of it to my for my project. I have a nifty die cutting machine that can cut anything I want. Well not anything but it was perfect for this job. I cut it to frame the buttons and then an inch or two around it.
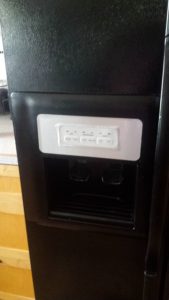
It looked better but it wasn’t perfect. Back to the die cutting machine. This time I used black vinyl to frame the buttons with a thin border.
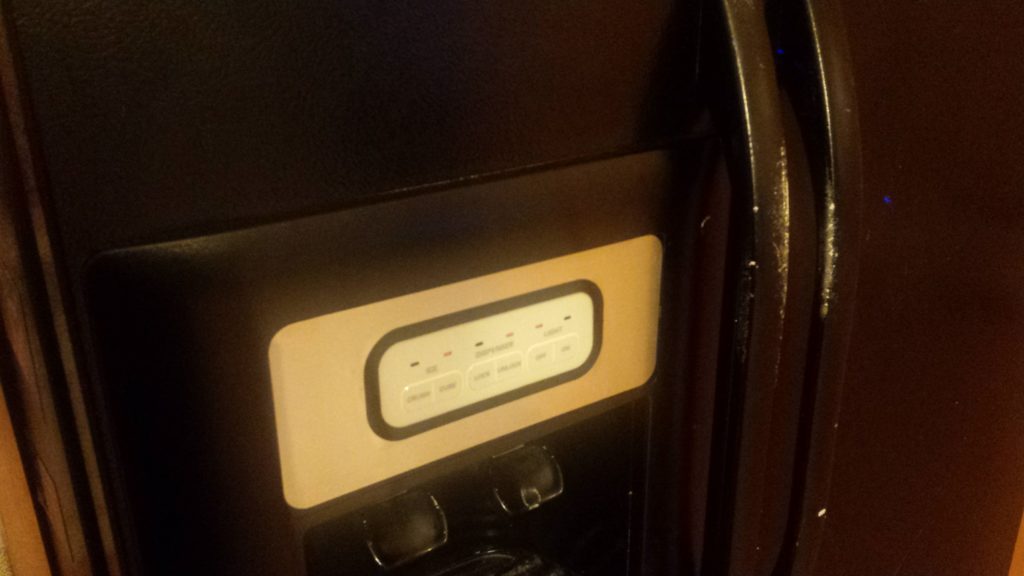
I was happy with the overall result. How is the fridge today? One and a half years later?

My only complaint is that the paint isn’t wearing very well on the handles but it wasn’t made for those. Replacing the handles would cost us just under $300 dollars so for now we’ll touch up the handles occasionally, maybe I’ll even try a different type of paint. Yes, I’m thinking about painting something- shocker!